
Objective
When you install a Windows Server operating system, the product key – also known as a KMS (Key Management Service) key – may not be installed correctly. In such cases, the operating system has been installed with a 120-day trial key. Once this time period elapses, the operating system can no longer be used.
This guide will show you how to change the product key for your Windows Server environment.
Requirements
- A dedicated server with Windows installed in your OVHcloud account
- A Windows SPLA licence in your OVHcloud account
- Administrative access to your server via remote desktop connection
Instructions
Uninstall the default product key
When your operating system is in trial mode, a default product key is installed. To modify it, open the Run dialogue box by pressing the Windows key on your keyboard + R.
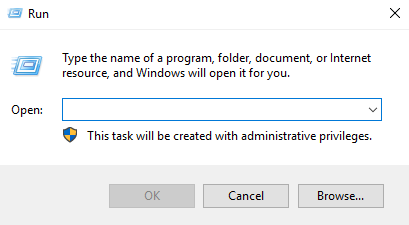
In this box, enter the following command:
Install the new product key
You can now install the new product key. To do so, go back to the Run box, and enter the following command:
You can find the product keys for supported versions of Windows Server in the table available on the official Microsoft web page.
Core versions use the same product keys as non-core versions.
Associate your product key
To associate your key with our automated activation system, enter the command below in the Run dialogue box:
If you are using a VPS or Public Cloud instance, you will need to use kms.cloud.ovh.net.
Activate the system
Lastly, to activate your Windows operating system, simply enter the command below: